
Perfecting Pie Crust Edges: A Step-by-Step Guide
When it comes to baking homemade pies, there’s something truly special about creating a pie with perfectly crimped or fluted edges. The artistry and precision that go into shaping the crust not only make for a visually stunning dessert but also ensure that the filling stays securely tucked within.
Today, we’re going to dive into the world of pie crust edges and explore the techniques that will help you achieve impeccable results every time. Whether you’re a seasoned baker looking to refine your skills or a beginner eager to learn, this step-by-step guide will be your go-to resource.
Imagine this: It’s a warm summer day, and you’re gathered with your loved ones for a picnic in the park. The sun is shining, and the smell of freshly baked pie wafts through the air. As you proudly unveil your homemade masterpiece, everyone’s eyes widen in amazement. The picture-perfect edges of your pie crust are a work of art, inviting everyone to indulge in a slice.
With our step-by-step guide, you’ll learn how to crimp and flute pie crust edges like a pro. From classic fruit pies to indulgent cream pies, these techniques will take your baking prowess to new heights. So let’s roll up our sleeves and get started on the journey to perfecting pie crust edges.
The Art of Crimping Pie Crust Edges
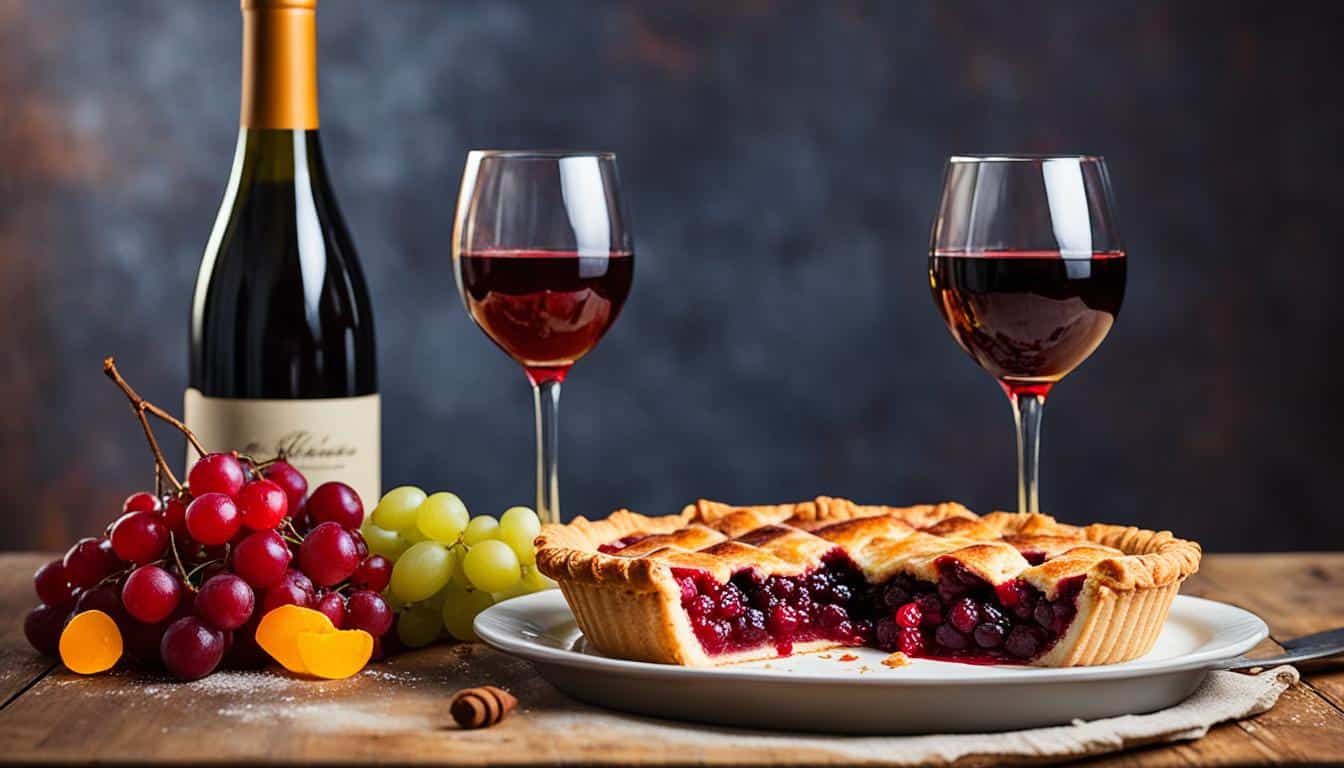
Crimping the edges of a pie crust is a classic technique that adds both flair and function to your homemade pies. Whether you’re baking a blueberry pie with a top crust or making delicious hand pies, mastering the art of crimping will give your desserts a decorative sealed edge that is as visually appealing as it is practical. This technique is also handy for tightening up the edges of butternut squash tarts or homemade turnovers.
To achieve the perfect crimped edge, all you need is a regular fork. Simply press the tines of the fork down into the edges of the crust, all the way around. The result is a beautiful fluted edge that not only seals the filling inside but also adds a touch of elegance to your pie presentation.
For a glossy finish, brush the crimped edges with an egg wash before baking. This will give your crust a delightful sheen. You can also sprinkle coarse sugar on top for added sparkle and a sweet crunch that will elevate your pie to the next level of deliciousness.
Remember, the art of crimping is all about sealing the filling and showcasing your pie crust skills. So take your time and enjoy the process of creating picture-perfect pie crust edges.
Fluting Pie Crust Edges for a Classic Look
Fluting the edges of a pie crust gives it a classic wavy, scalloped look that never goes out of style. This technique is especially great for one-crust pies like coconut cream pie or quiche, where you want to add a little flair without a top crust design.
To flute the edges, you don’t need any special tools, just your hands and a knuckle of your index finger. Pinch the edges of the dough around the knuckle of your dominant hand and turn the pie dish as you go around the edges. Lightly flour your fingers if the dough becomes sticky. The result is a beautifully shaped crust that adds a touch of elegance to your pie.
Here’s a step-by-step guide for fluting the edges of a single-crust pie:
- Roll out your pie dough into a 12-inch circle to fit a 9-inch pie dish.
- Trim the excess overhang to about 1.5 inches and fold it back over to create a compact edge.
- Pinch the edges of the dough around the knuckle of your index finger, using your dominant hand.
- Turn the pie dish as you go around the edges, creating evenly spaced fluted edges.
- Lightly flour your fingers if the dough becomes sticky.
Here’s how the fluted edges should look:
| Fluted Pie Crust |
|---|
Remember to brush the edges with an egg wash and sprinkle with coarse sugar for a glossy sheen and a sweet crunch.
Fluting the pie crust edges adds a professional touch to your homemade pies, making them look as good as they taste. Try this technique with your favorite single-crust pie recipes and impress your loved ones with beautifully crafted pies.
Conclusion
Perfecting the edges of your pie crust is an important step in creating a show-stopping dessert. Whether you choose to crimp the edges for a sealed and decorative look or flute them for a classic and elegant touch, these techniques will elevate your pies to the next level.
Don’t forget to brush the crust with an egg wash and sprinkle with coarse sugar for a beautiful finish. This will give your pie crust a glossy sheen and a sweet crunch that adds the perfect final touch.
With the right techniques and a little practice, you can achieve picture-perfect pie crust edges that will wow your family and friends. So take the time to perfect your pie crust edges and enjoy the delicious results. Your homemade pies will be the talk of every gathering and leave everyone craving for more.


Post Comment